We made some cute slider gift card holders using the Two Tags Die at our last class. I wanted to pass on the instructions to you so that you can make some for your friends and family during this Holiday season. Made this one using some retired DP from last year, but made several others using the new DP from Letters from Santa also.
1) Base = Cardstock 4 x 5-1/2” – score at 2-1/2 and 5”
2) Cut coordinating mat from cardstock at 2-1/4” x 3-3/4”
3) Cut a piece of Designer Series Paper to 2-1/8” x 3-5/8”
4) Adhere the DP to card mat of coordinating color leaving 1/8” border
5) Use 1-1/4” circle punch to punch a half circle from the end of the DP/mat piece
6) Now adhere the DP piece & mat to the card base – use the 1” circle punch to punch a half circle in the right edge of the sleeve so it is just inside the half circle of the Designer Paper.
7) Put a piece of sticky strip along the inside left edge of sleeve as close to the edge as you can get. Also put a piece of sticky strip along the small flap as well.
8) Remove the protective backing from sticky strip and adhere the sleeve together.
9) Cut a piece of coordinating card stock for the gift tag holder tag loop to 2-1/4” x 11” – score and fold in half at 5-1/2”.
10) Place the folded piece of card stock on the Two Tags Die so the folded edge is just below the cutting edge along the flat side of the scallop-ended tag. You don’t want the die to cut your card stock on this end.
11) Put a small piece of sticky strip on the inside of the scalloped end as close to the outside edge as you can get. Adhere the two ends together (I use a gift card as my spacer to make sure I don’t get it taped down too far).
12) Punch a scallop circle from a scrap of card stock using the 1-3/4”scallop circle punch.
13) Adhere the right side only of the scallop circle punch out to the scallop on the end of the tag loop with dimensionals. Make sure the left side of scallop circle punch out is not adhered down so that it can slide over the top of the sleeve as the tag loop is inserted.
14) Finish decorating as desired.
We also made a cute Santa Owl one that everyone seemed to love - hope you will too.
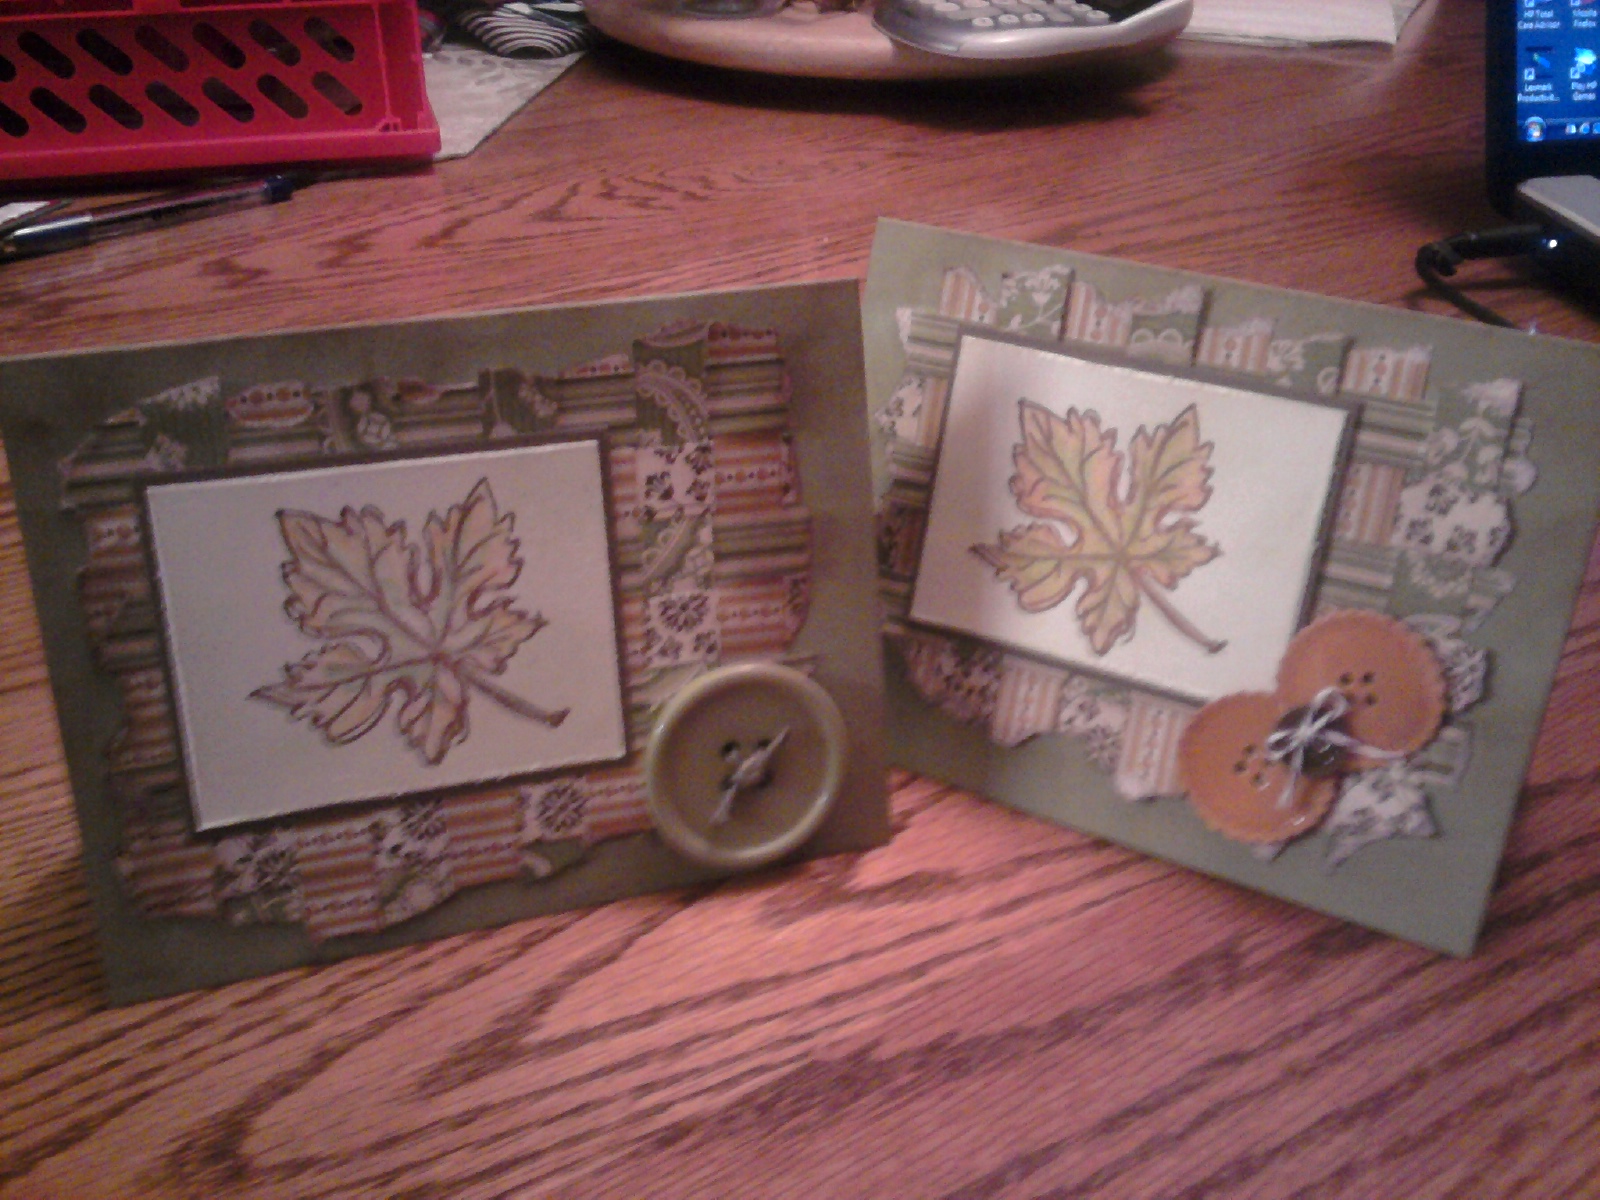
Some other ones we made using this template - these are simple but really nice looking.
Thanks for visiting and good luck with your projects.
Happy Stamping -
Linda